1 views
実現する機能
CMS(Contents Management System、 コンテンツマネジメントシステム)にはWordPressを使っていますが、技術革新に置いていかれないように、他のCMSの使い勝手もチェックしています。今回はMovableType 5の導入手順をご紹介します。
事前準備
Webサーバー構築・公開(Apache)とデータベースサーバーの構築(MySQL)が完了していること。
(0)必要なsoftのInstall
[root@ufuso ~]# perl -v ← perlのversion check This is perl, v5.10.1 (*) built for x86_64-linux-thread-multi ← perlの5.8.1以上が必要 Copyright 1987-2009, Larry Wall Perl may be copied only under the terms of either the Artistic License or the GNU General Public License, which may be found in the Perl 5 source kit. Complete documentation for Perl, including FAQ lists, should be found on this system using "man perl" or "perldoc perl". If you have access to the Internet, point your browser at http://www.perl.org/, the Perl Home Page. [root@ufuso ~]# mysql -u root -p ← Databaseの作成 Enter password: ← mysqlのroot passwordを入力 Welcome to the MySQL monitor. Commands end with ; or \g. Your MySQL connection id is 710 Server version: 5.1.69 Source distribution Copyright (c) 2000, 2013, Oracle and/or its affiliates. All rights reserved. Oracle is a registered trademark of Oracle Corporation and/or its affiliates. Other names may be trademarks of their respective owners. Type 'help;' or '\h' for help. Type '\c' to clear the current input statement. mysql> create database mt5; ← mt5という名のDatabase作成 Query OK, 1 row affected (0.01 sec) mysql> grant all privileges on mt5.* to tu@localhost identified by 'password'; ← mt5に full-accessできるuser tuの作成。passwordはpasswordで例示 Query OK, 0 rows affected (0.03 sec) mysql> exit ← mysqlの終了 Bye [root@ufuso ~]# chmod 777 /var/www/html ← websiteやblog folder作成のため、htmlフォルダ に読み書き権限設定 [root@ufuso ~]# mkdir /var/www/html/mt5 ← mt5の格納folder mt5の作成 root@ufuso ~]# chmod 777 /var/www/html/mt5 ← mt5 folderに読み書き権限設定 [root@ufuso ~]# yum list Image::Magick NetPBM GD Imager ← 必要な画像処理ソフト Image::Magick、NetPBM、GD、Imagerのうちどれがインストールできるか確認 Loaded plugins: fastestmirror, refresh-packagekit, security Loading mirror speeds from cached hostfile * base: mirror.steadfast.net * extras: mirror.steadfast.net * updates: mirror.steadfast.net Installed Packages gd.x86_64 2.0.35-11.el6 @base Available Packages gd.i686 2.0.35-11.el6 base netpbm.i686 10.47.05-11.el6 base netpbm.x86_64 10.47.05-11.el6 base [root@ufuso ~]# yum -y install gd netpbm ← インストール可能なNetPBMとGDをインストール Installed: netpbm.x86_64 0:10.47.05-11.el6 Complete! [root@ufuso ~]# yum -y install ImageMagick ImageMagick-devel ImageMagick-perl ← ImageMagick ImageMagick-devel ImageMagick-perlも必要だったのでインストール Installed: ImageMagick-devel.x86_64 0:6.5.4.7-6.el6_2 ImageMagick-perl.x86_64 0:6.5.4.7-6.el6_2 Dependency Installed: bzip2-devel.x86_64 0:1.0.5-7.el6_0 ghostscript-devel.x86_64 0:8.70-15.el6_4.1 jasper-devel.x86_64 0:1.900.1-15.el6_1.1 lcms-devel.x86_64 0:1.19-1.el6 libICE-devel.x86_64 0:1.0.6-1.el6 libSM-devel.x86_64 0:1.2.1-2.el6 libXext-devel.x86_64 0:1.3.1-2.el6 libXt-devel.x86_64 0:1.1.3-1.el6 libtiff-devel.x86_64 0:3.9.4-9.el6_3 Complete! [root@ufuso ~]# service httpd restart ← Apacheの再起動 httpd を停止中: [ OK ] httpd を起動中: [ OK ] |
ユーザー登録
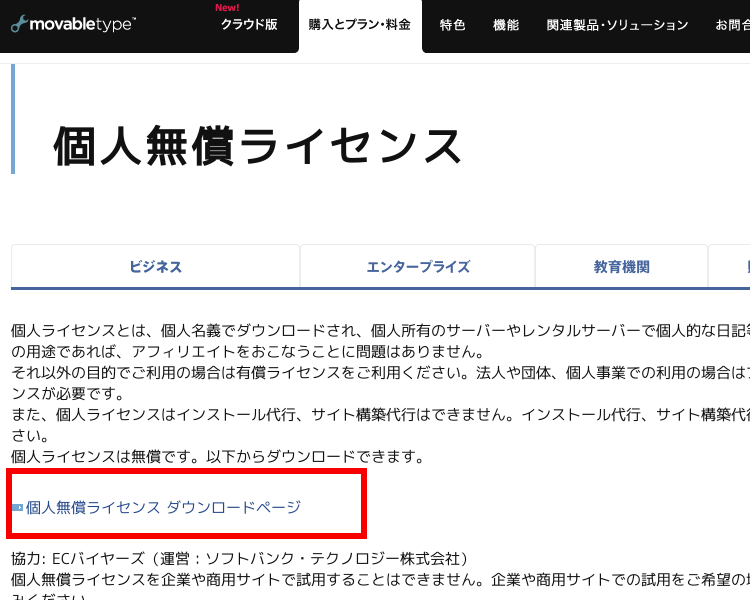
(1)MovableTypeのsiteにaccessして下記画面を表示させ、赤枠の「個人無償ライセンス ダウンロードページ」をclick
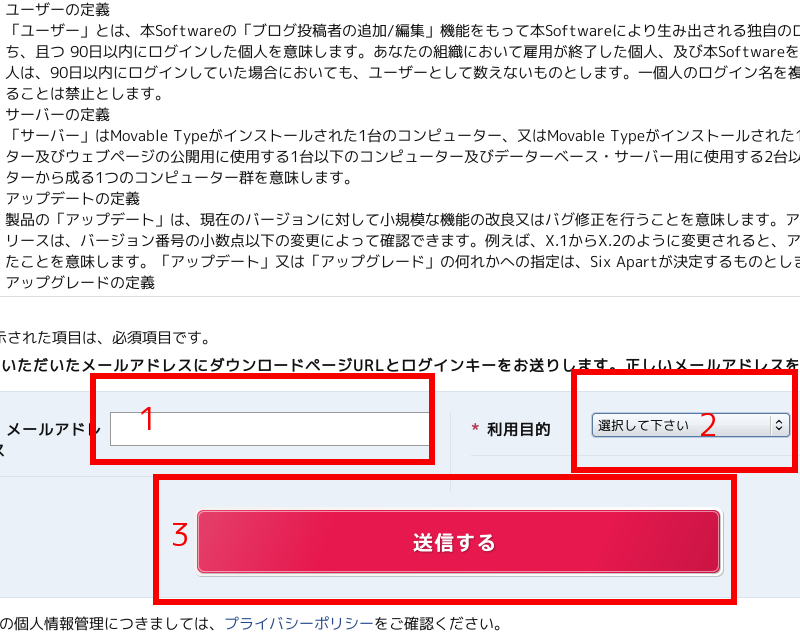
(2)downloadのURLを送付してもらうためのemail addressを赤枠1に入力し、赤枠2に利用目的を表示される一覧から「個人利用(初めて利用する)」選び、赤枠3の「送信する」をclick
(3)設定したemail addressにdownloadのURLが送られてくるので、そこにaccess、downloadを終え、解凍後に作成したfolder(例示ではmt5)にupload
Movable TypeのInstall
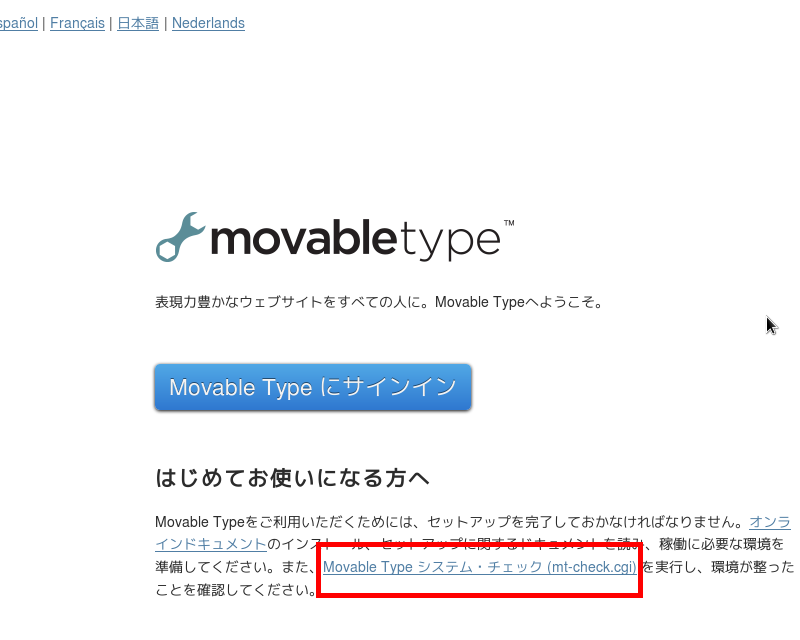
(1)uploadしたfolderにaccessし、表示される下記siteの赤枠「Movable Type システムチェック [mt-check.cgi]」をclick
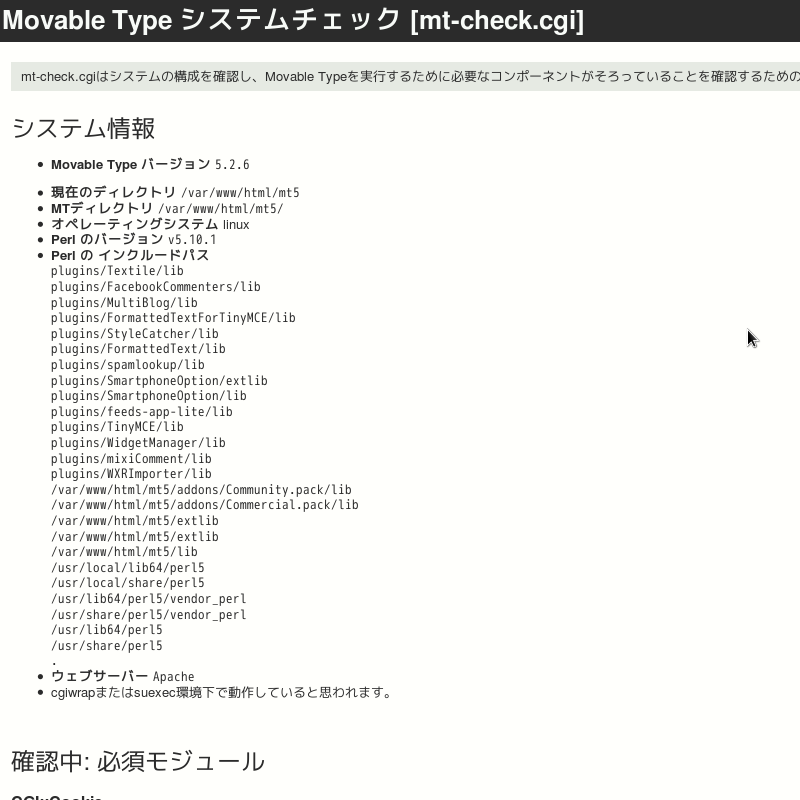
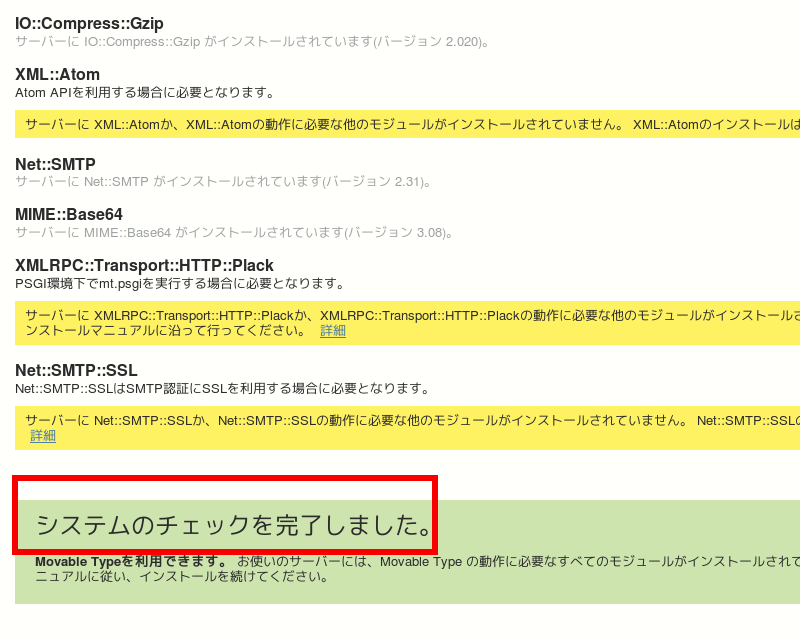
(2)表示される下記siteの最下段に移動
(3)赤枠の「システムのチェックを完了しました」をclick
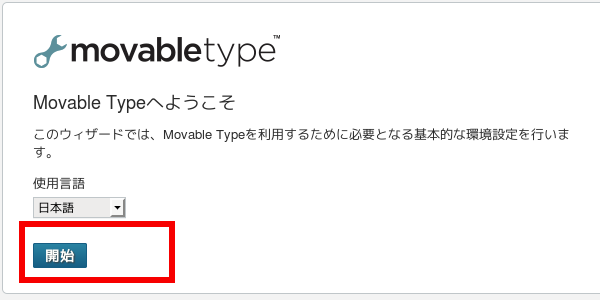
(4)赤枠の「開始」をclick
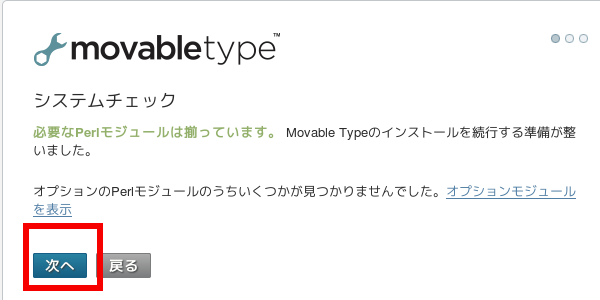
(5)赤枠の「次へ」をclick
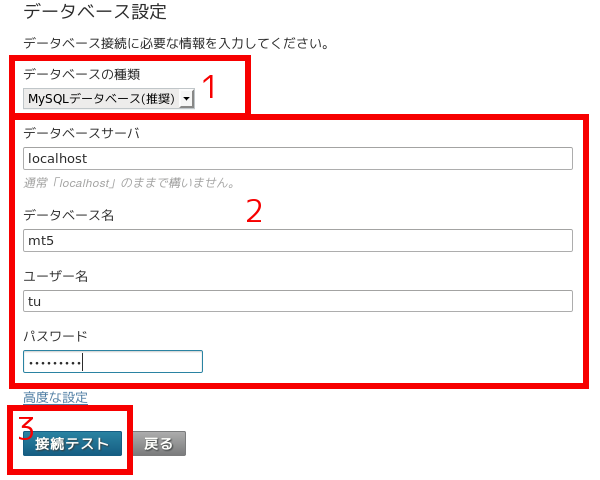
(6)赤枠1が「mysql」であることを確認して、赤枠2に作成したdatabaseの各項目を入力し、赤枠3の「接続テスト」をclick
(7)下記画面が表示されたら赤枠の「次へ」をclick

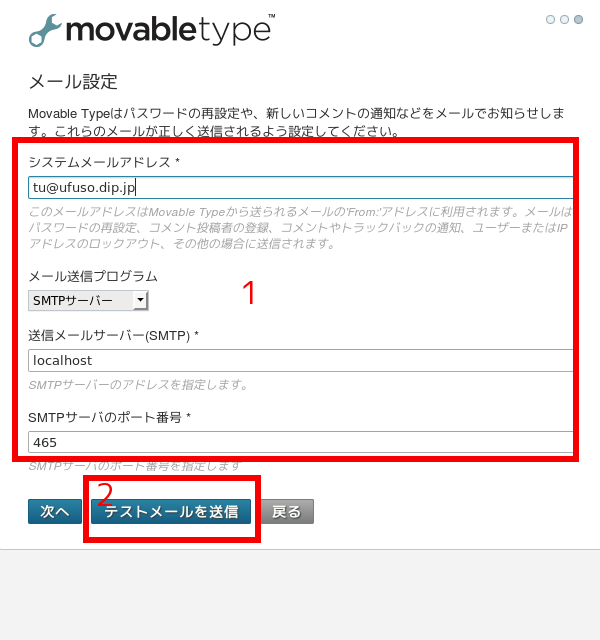
(8)赤枠1自分のemail addressを連絡用に登録し、赤枠2の「テストメールを送信」をclick
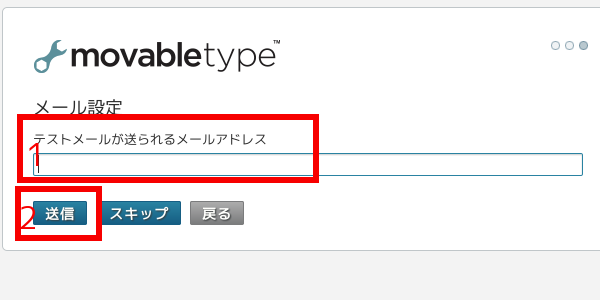
(9)emailが送れるかのtestなので、自分が使っている別メールのemail addressを赤枠1に入力し、赤枠2の「送信」をclick
(10)赤枠1自分のemail addressを連絡用に登録し、赤枠2の「テストメールを送信」をclick
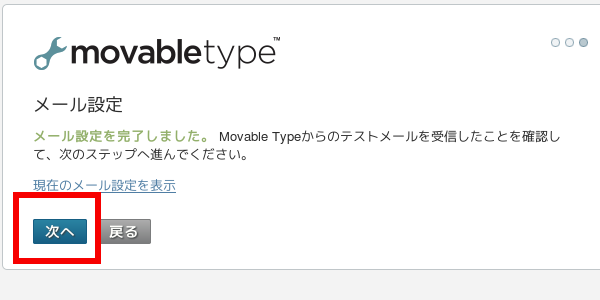
(11)赤枠の「次へ」をclick
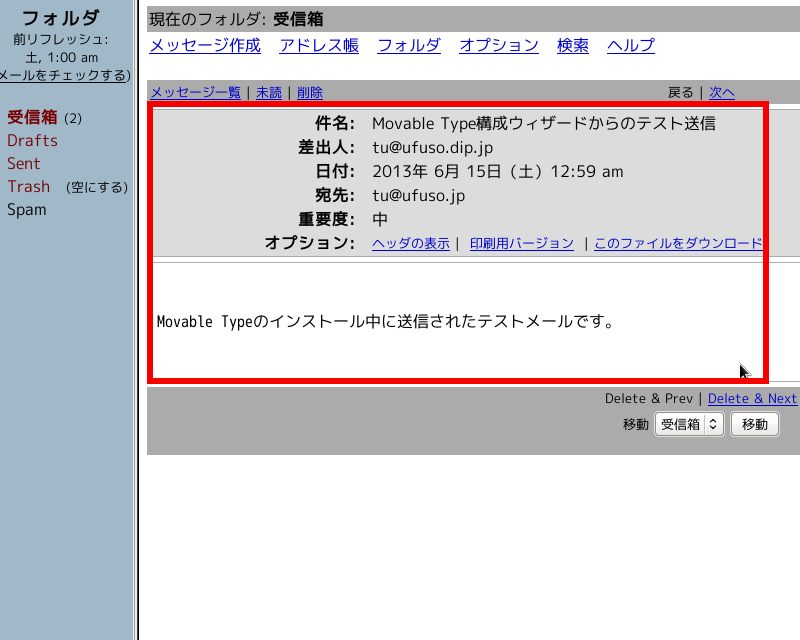
(12)test emailが届いていることを確認
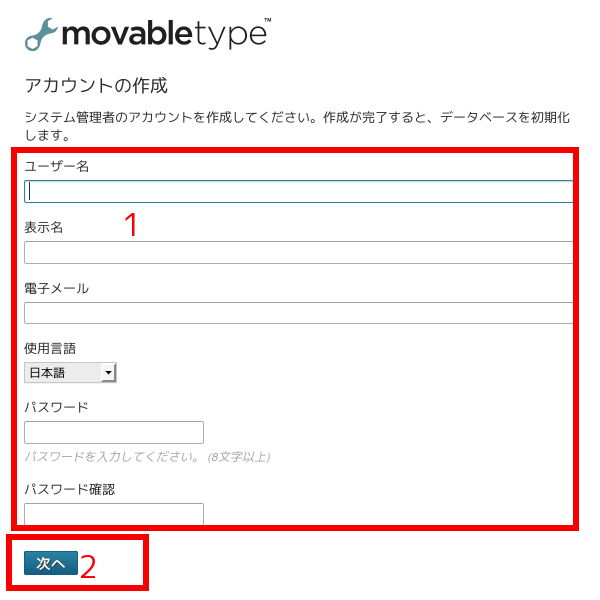
(13)赤枠1に入力し、赤枠2の「次へ」をclick
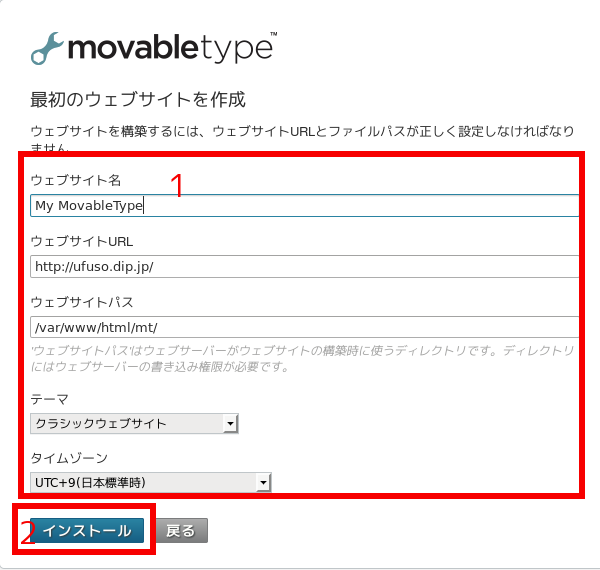
(14)赤枠1に入力し、赤枠2の「インストール」をclick
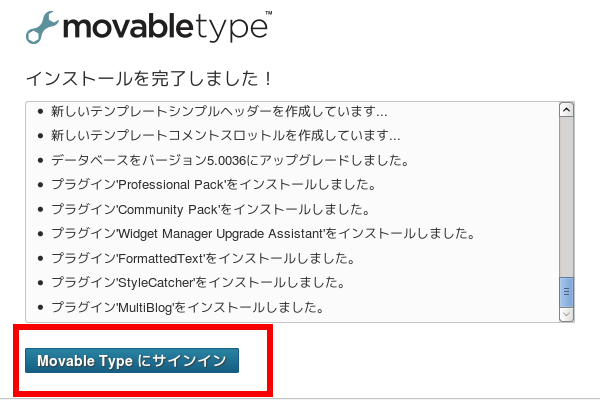
(15)赤枠の「Movable Typeにサインイン」をclick
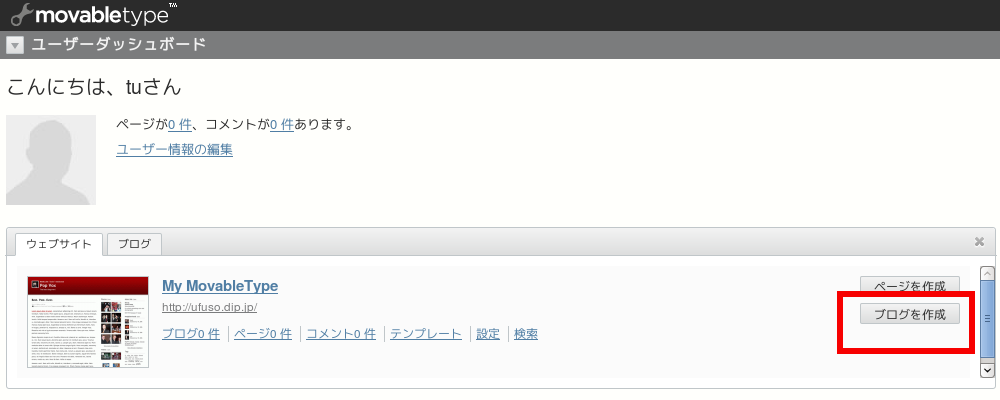
(16)赤枠の「ブログを作成」をclick
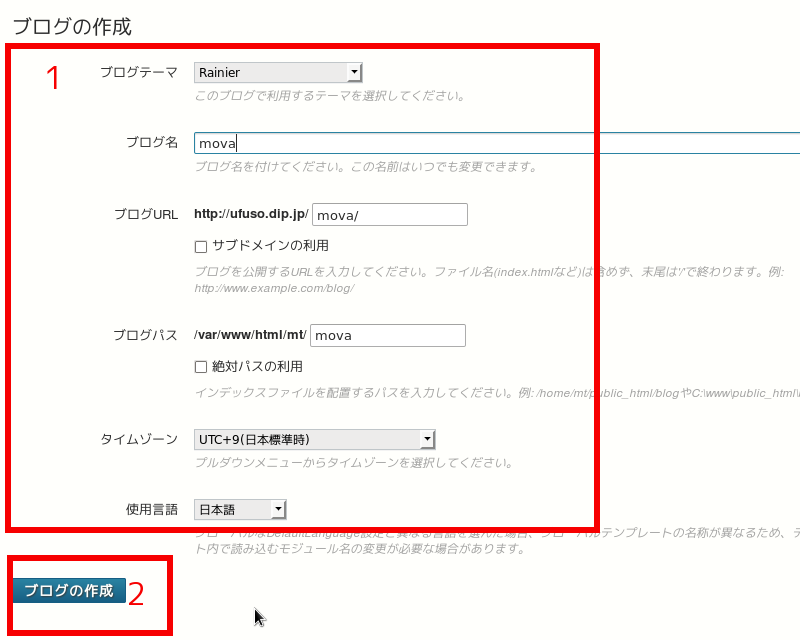
(17)赤枠1に登録し、赤枠2の「ブログの作成」をclick
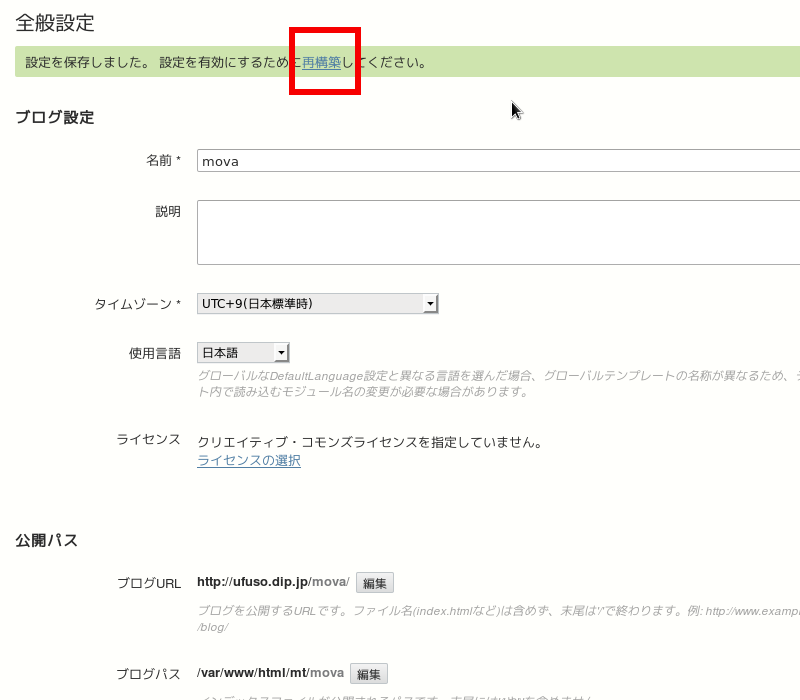
(18)赤枠2の「再構築」をclick
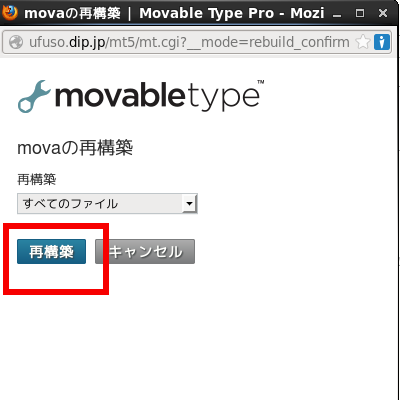
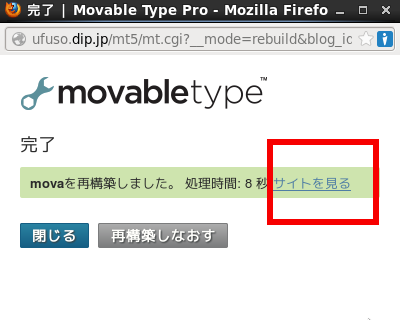
(19)popup画面が表示されるので、赤枠の「再構築」をclick
(20)赤枠の「サイトを見る」をclick
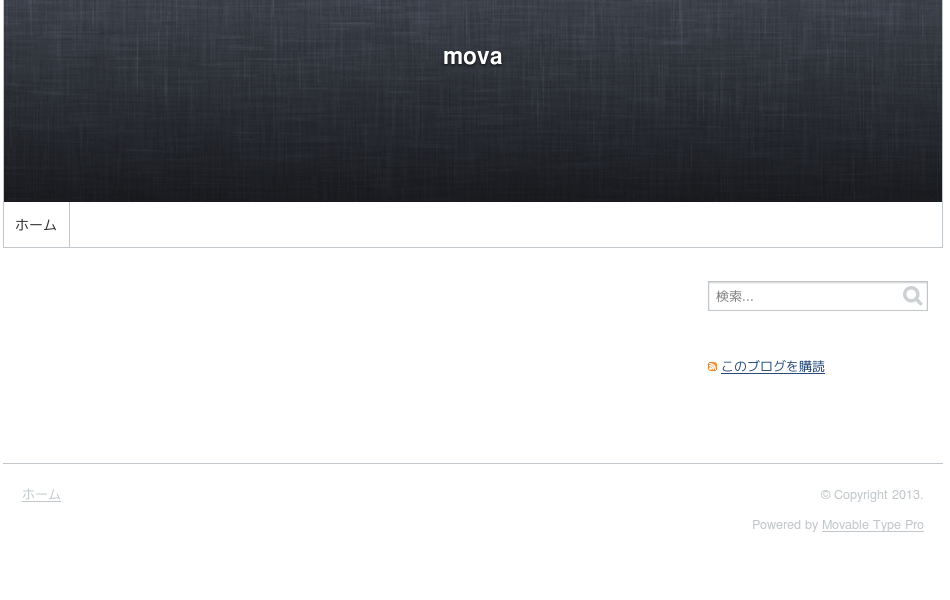
(21)defaultのblog site
(22)defaultのweb site

コメントを残す